
AI Video
1. Select Your Video Mode
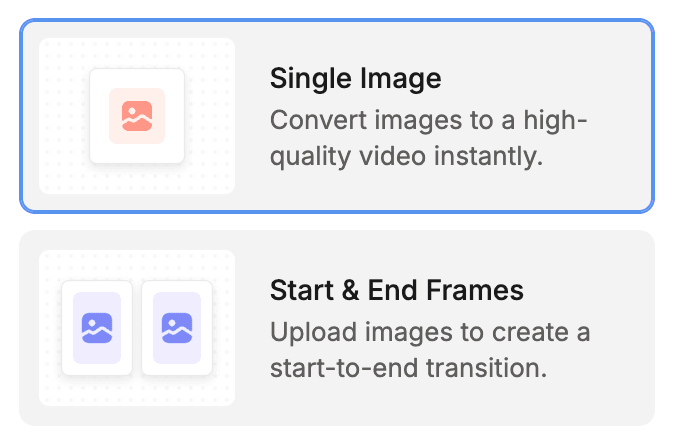
- Single Image: Instantly animate a single static rendering.
- Start & End Frames: Upload a starting photo and a final photo to create a seamless transition from one state to another.
2. Set Your Scene & Motion Style
Choose your Scene Type to automatically unlock the best camera movements for your space:
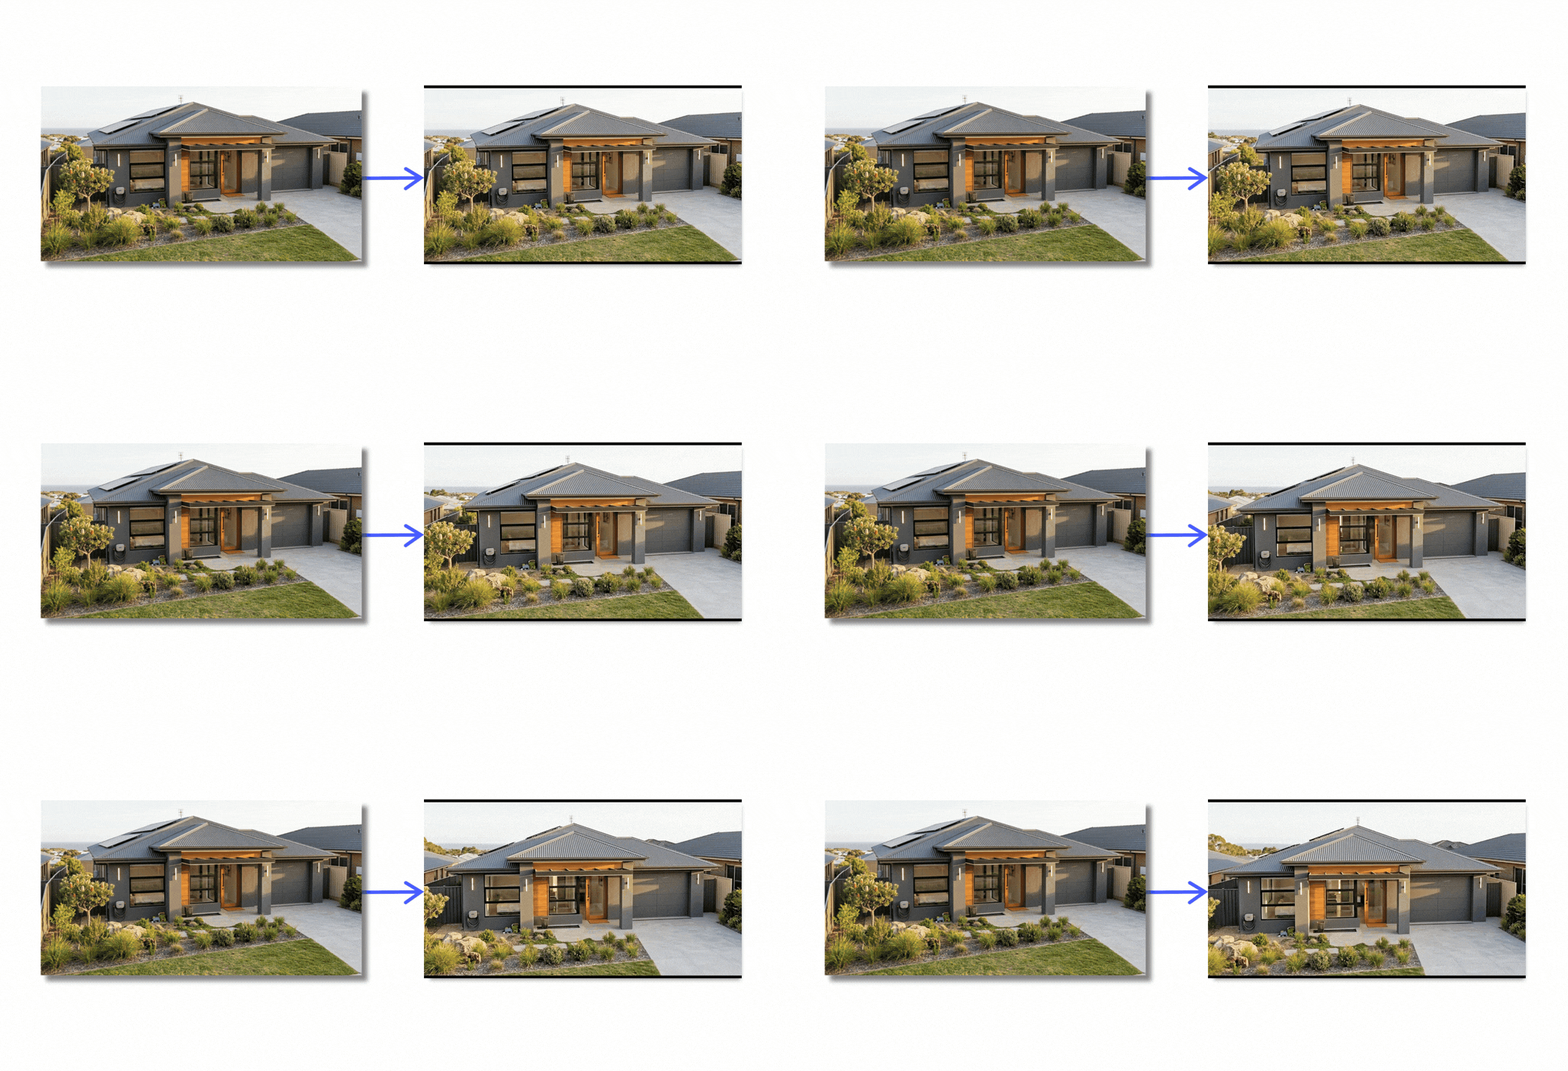
- Exterior: Captures the architecture with a wide, cinematic Drone shot.
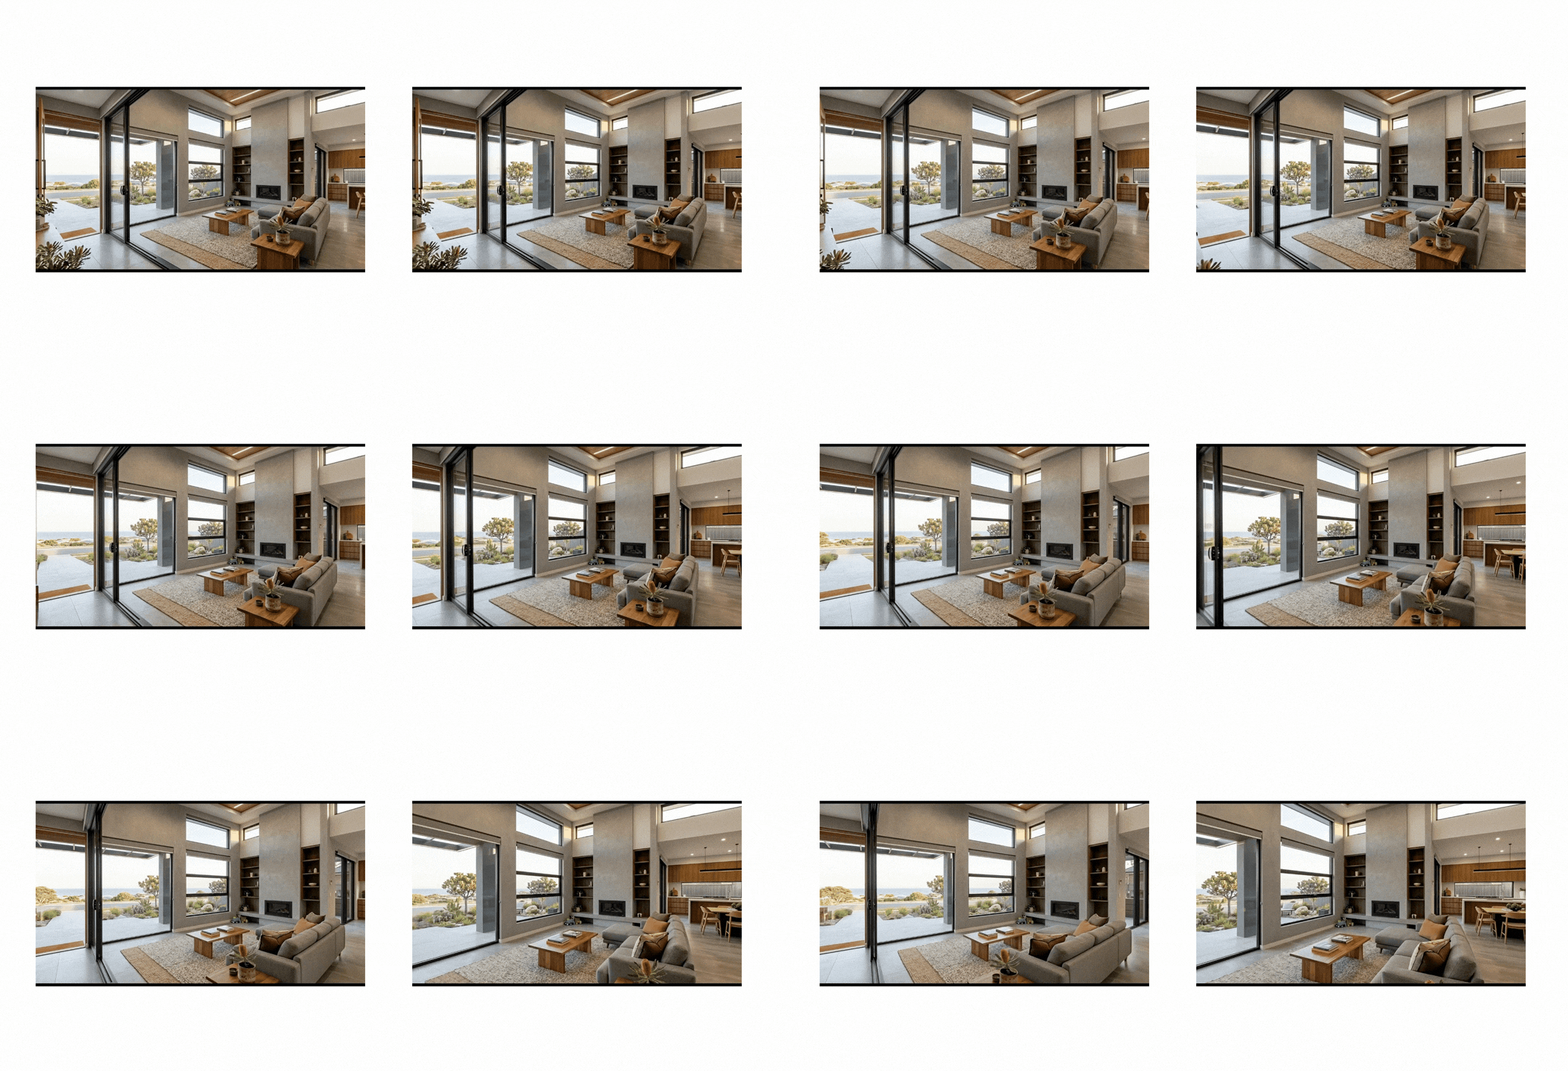
- Interior: Brings viewers right into the room with a choice between a Walkthrough perspective or a Pan.
Start and End Frame Mode
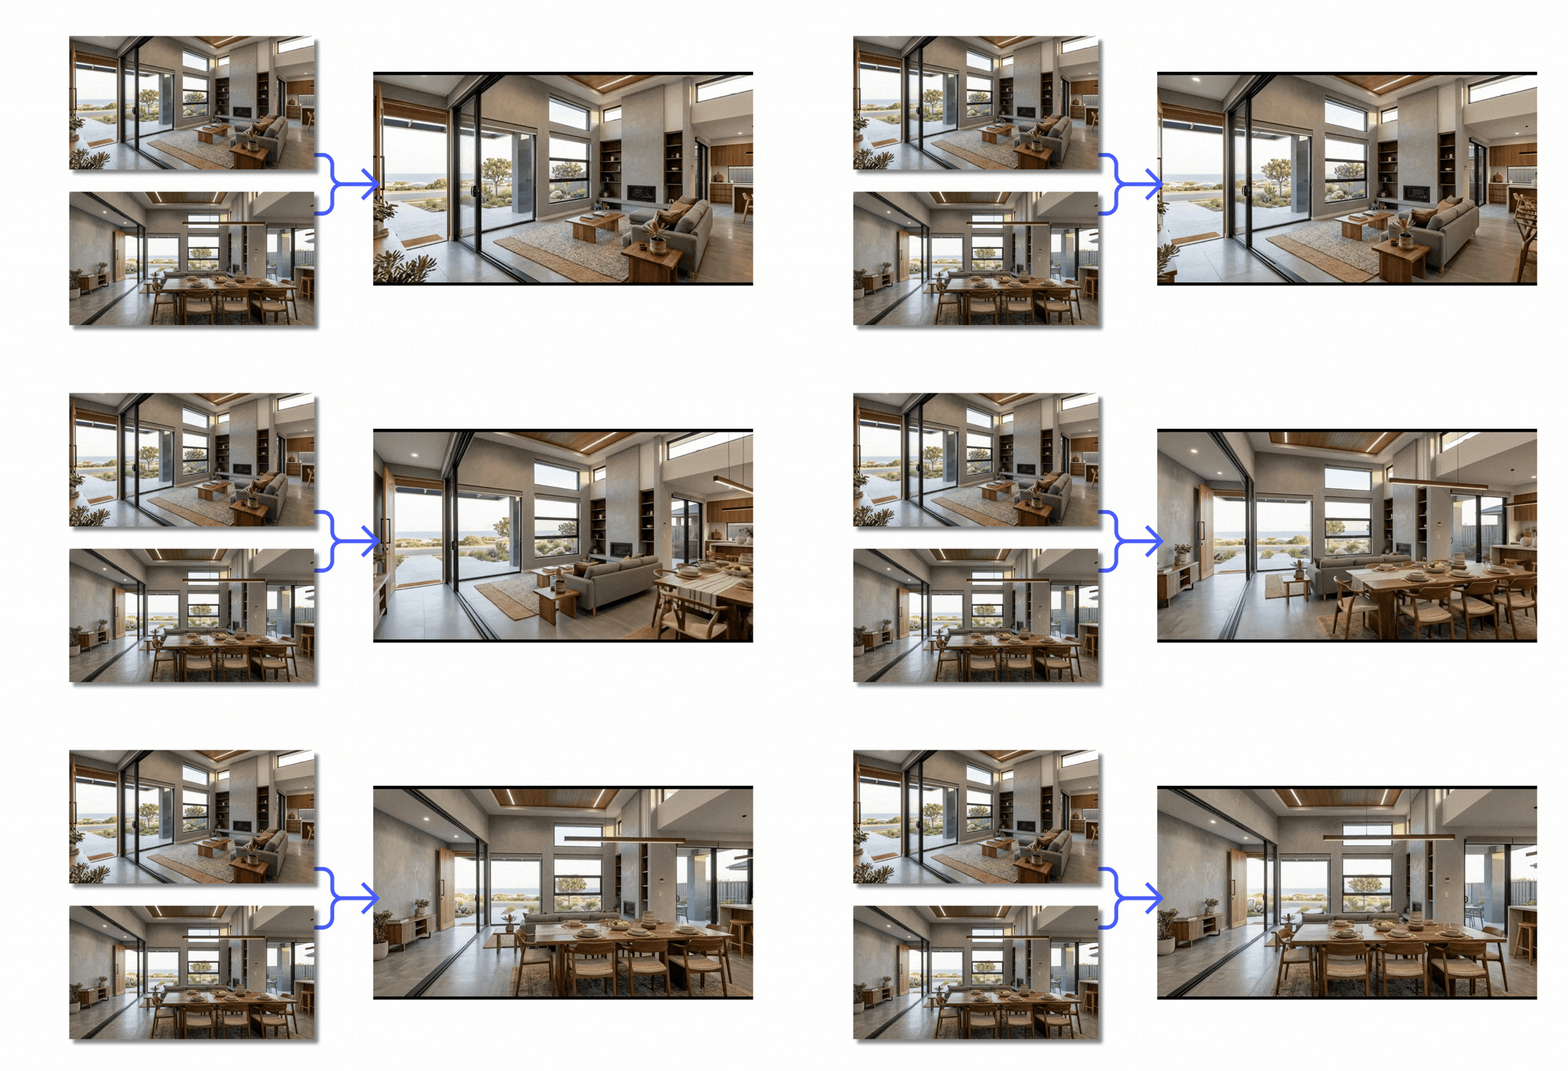
First, select your video mode by choosing Start and End Frame menu.
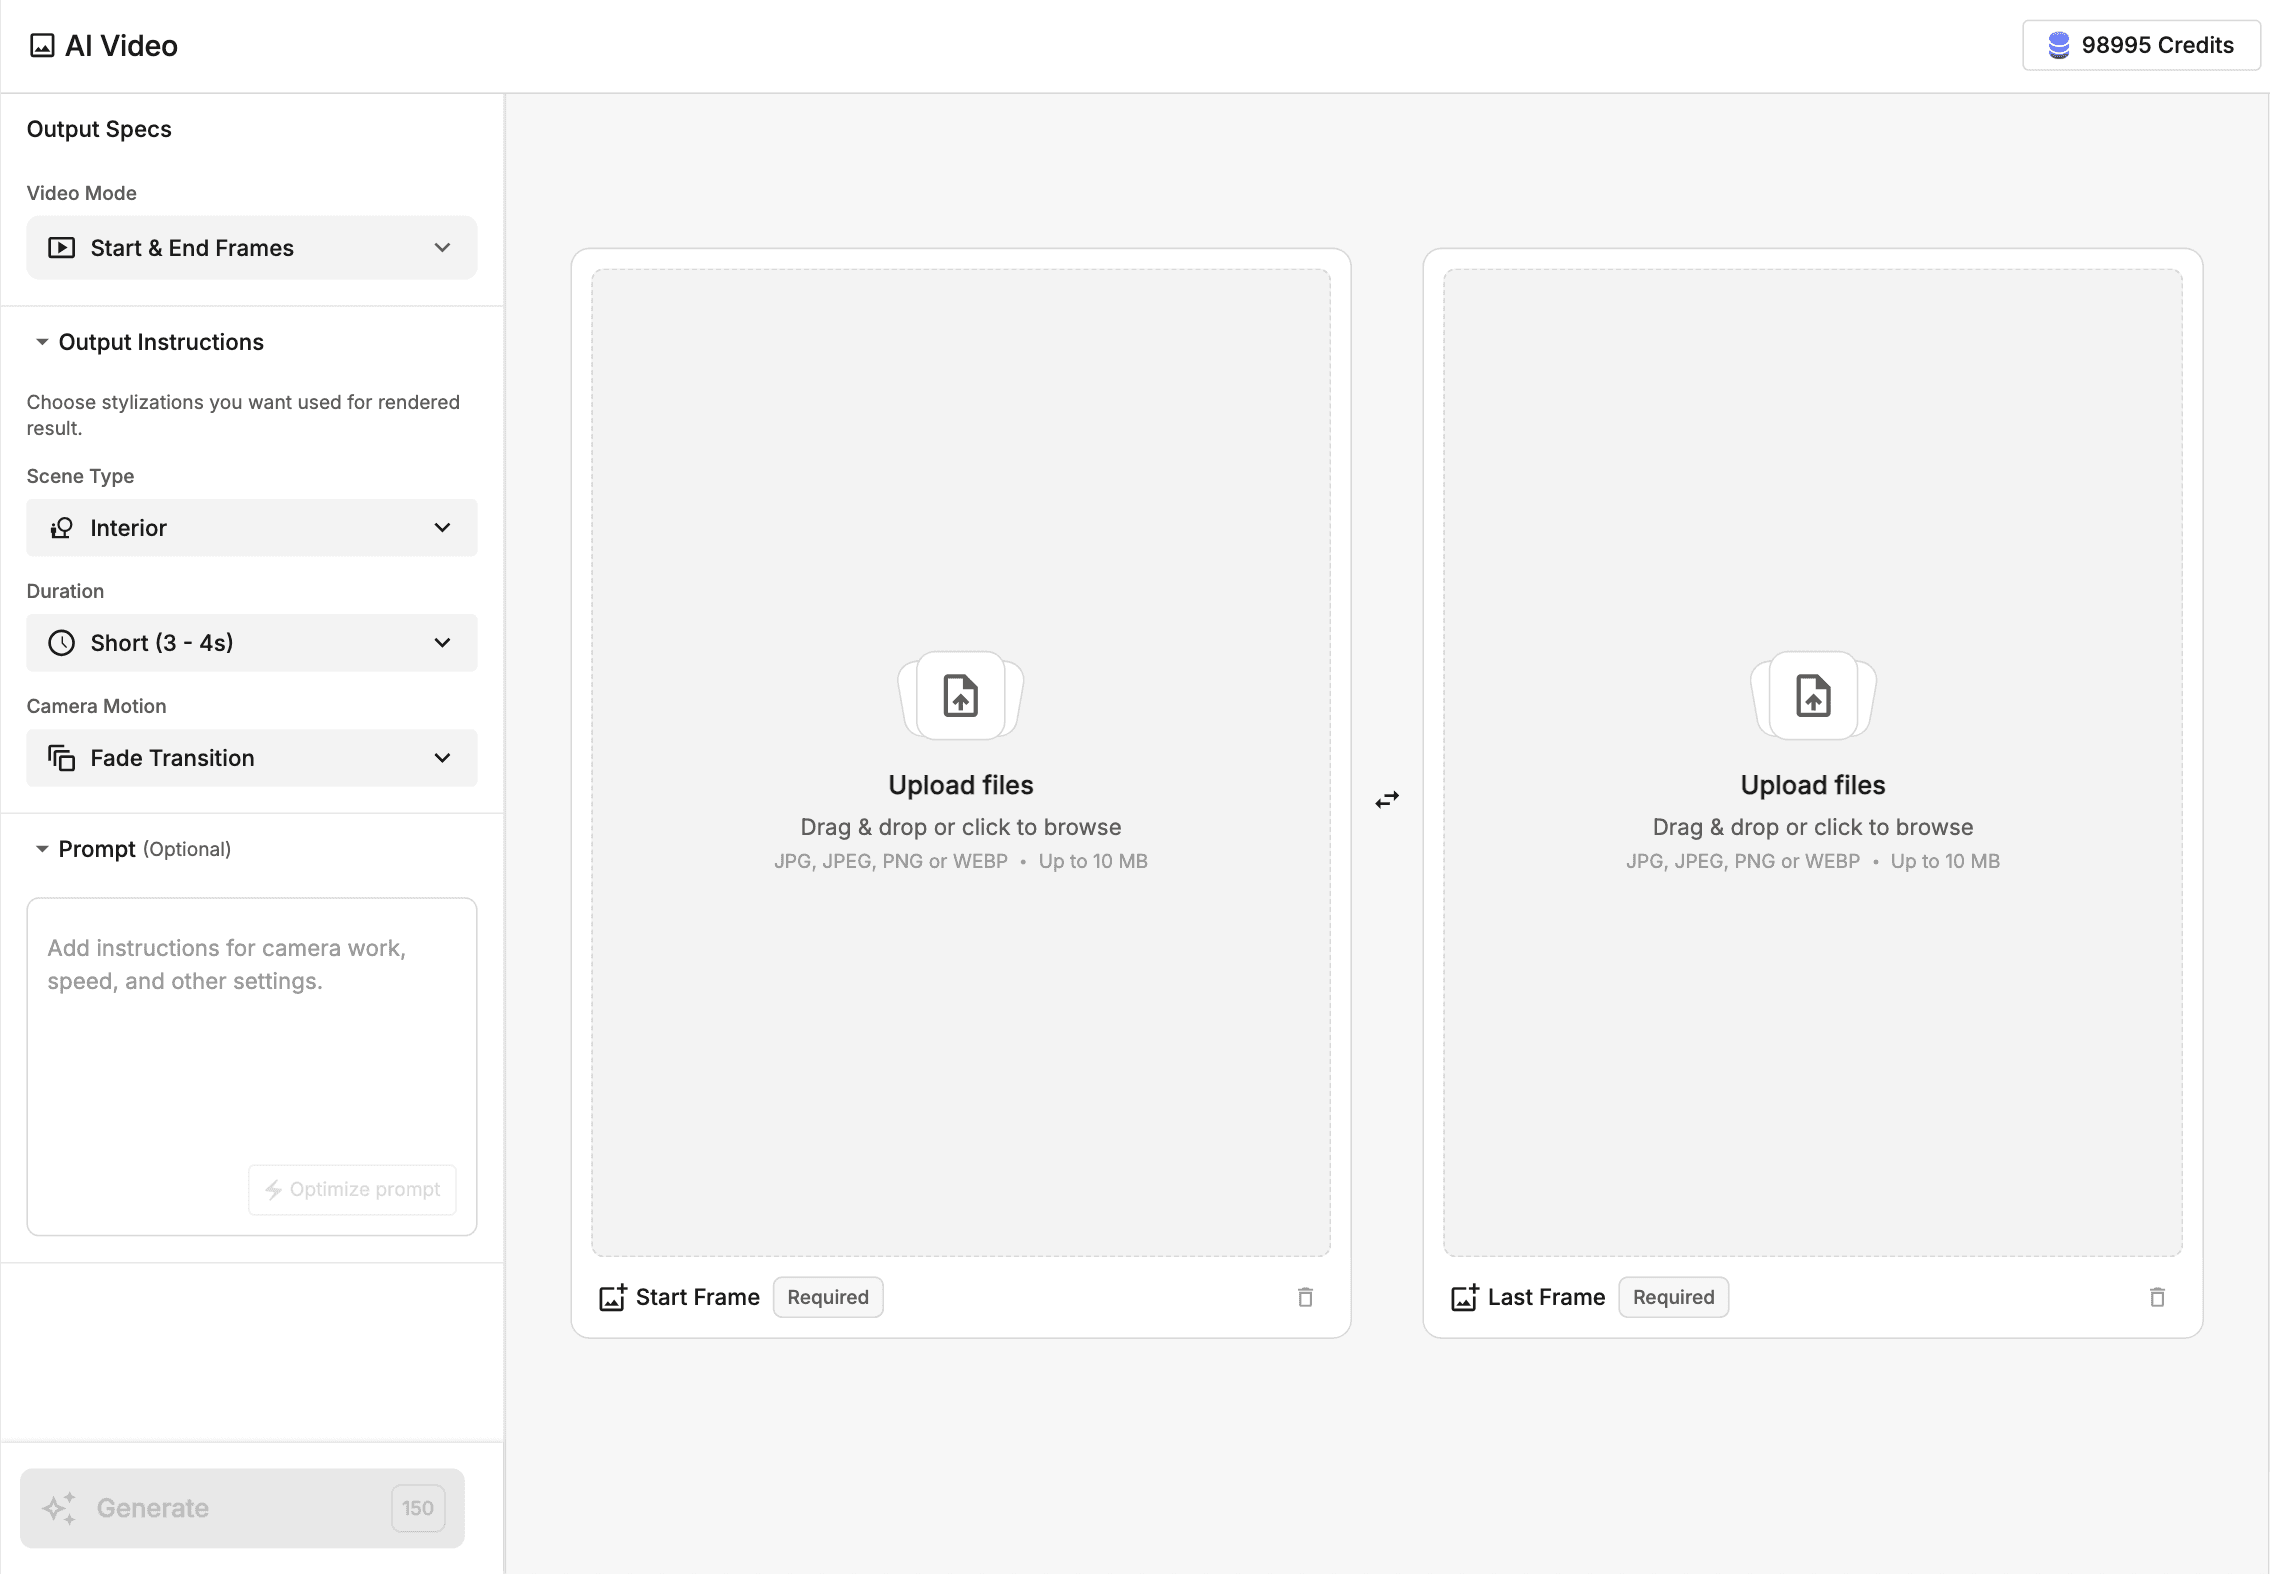
Once selected, navigate to the Camera Motion dropdown menu to choose how your transition feels:
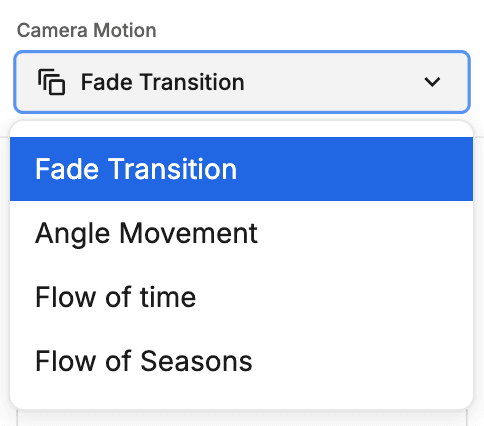
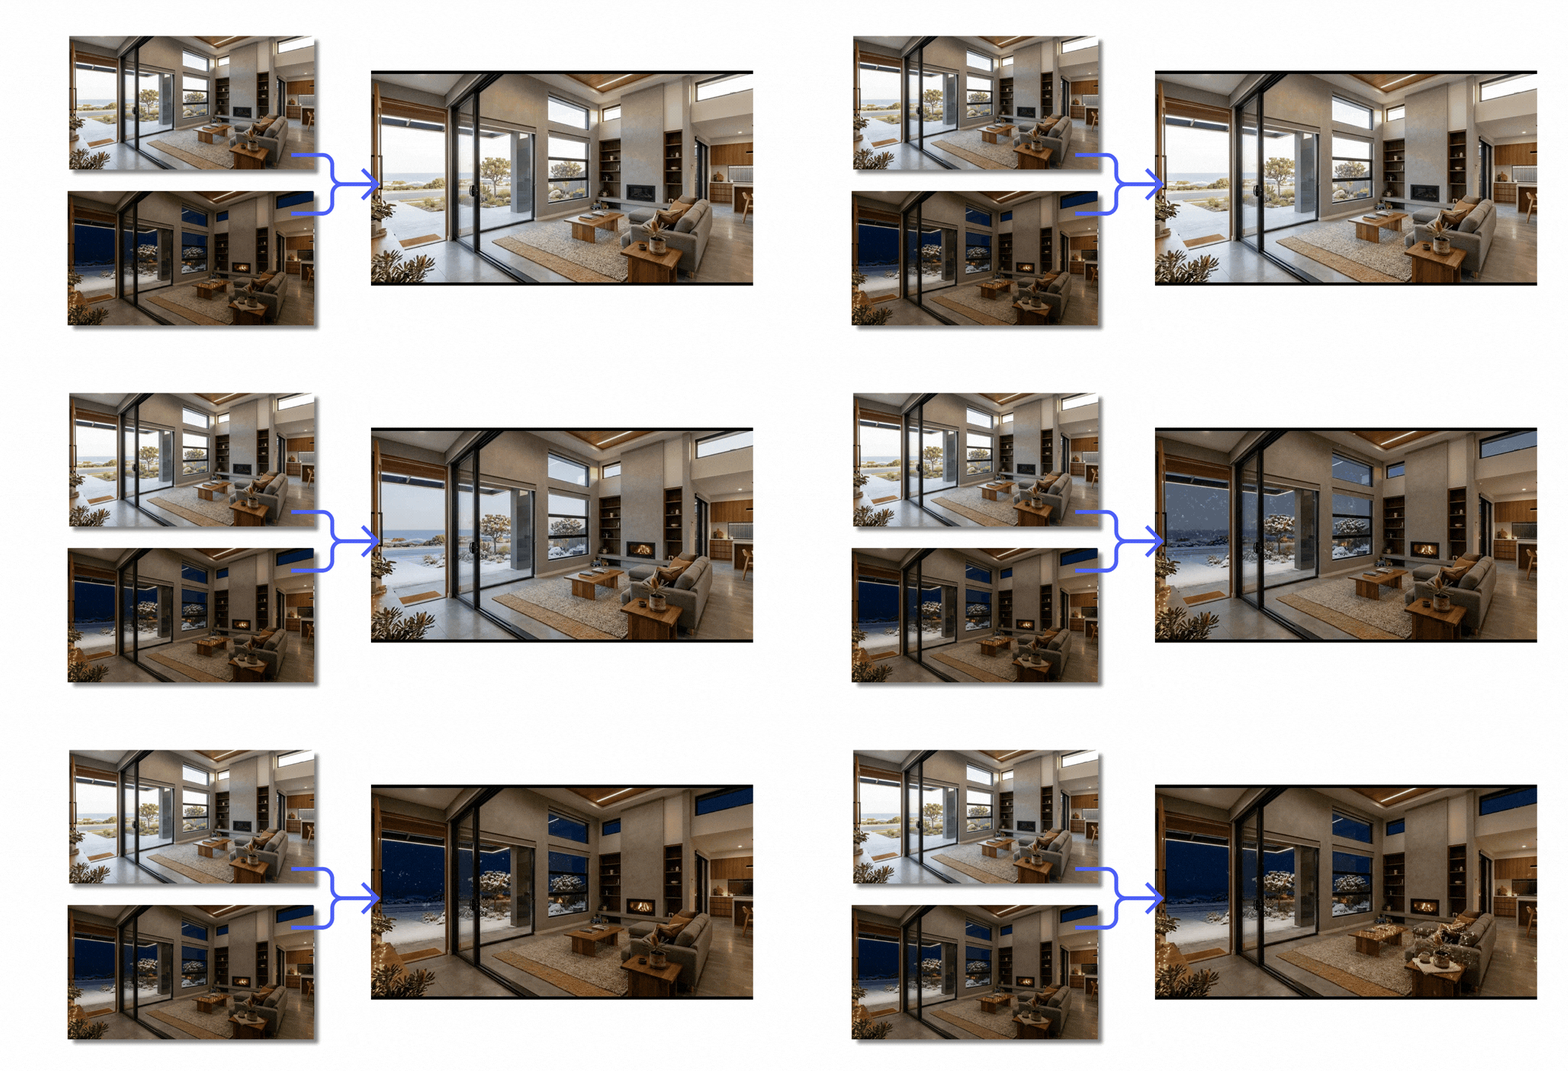
- Fade Transition: A classic, clean dissolve from your start frame to your end frame.
- Angle Movement: Sweeps the camera angle dynamically as the space transforms.
- Flow of time: Shifts the daylight and shadows to show time passing throughout the clip.
- Flow of Seasons: Perfect for exterior shots, morphing the surrounding landscape through different seasonal looks.
4. Use the Prompt Box & Generate
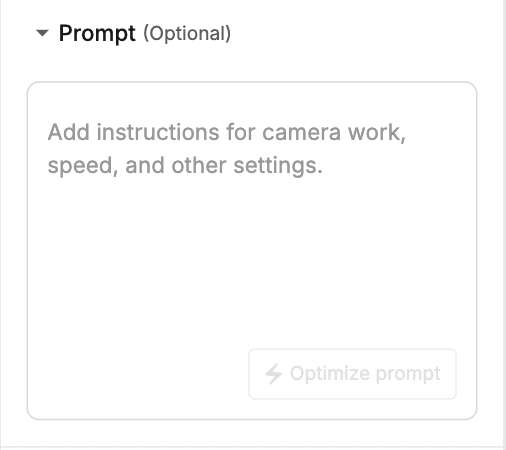
- Prompt (Optional): Want a specific look, lighting condition, or extra detail? Type your creative instructions into the prompt box on the left-hand panel. You can also click Optimize prompt to let the AI automatically upscale your description for the best visual output.
- Generate: Once you are happy with your settings, click Generate at the bottom left. Each video generation uses 150 credits, as shown right next to the button.