
Place Objects (Insert Product Images into a Space)
Place product images such as furniture or fixtures in a space, adjust their size, and insert them.
Place Objects is a mode for placing product images, such as furniture, fixtures and store fittings, in a space, adjusting their size, and inserting them accurately. Use it to visualize your own products in a real space or for interior proposals.
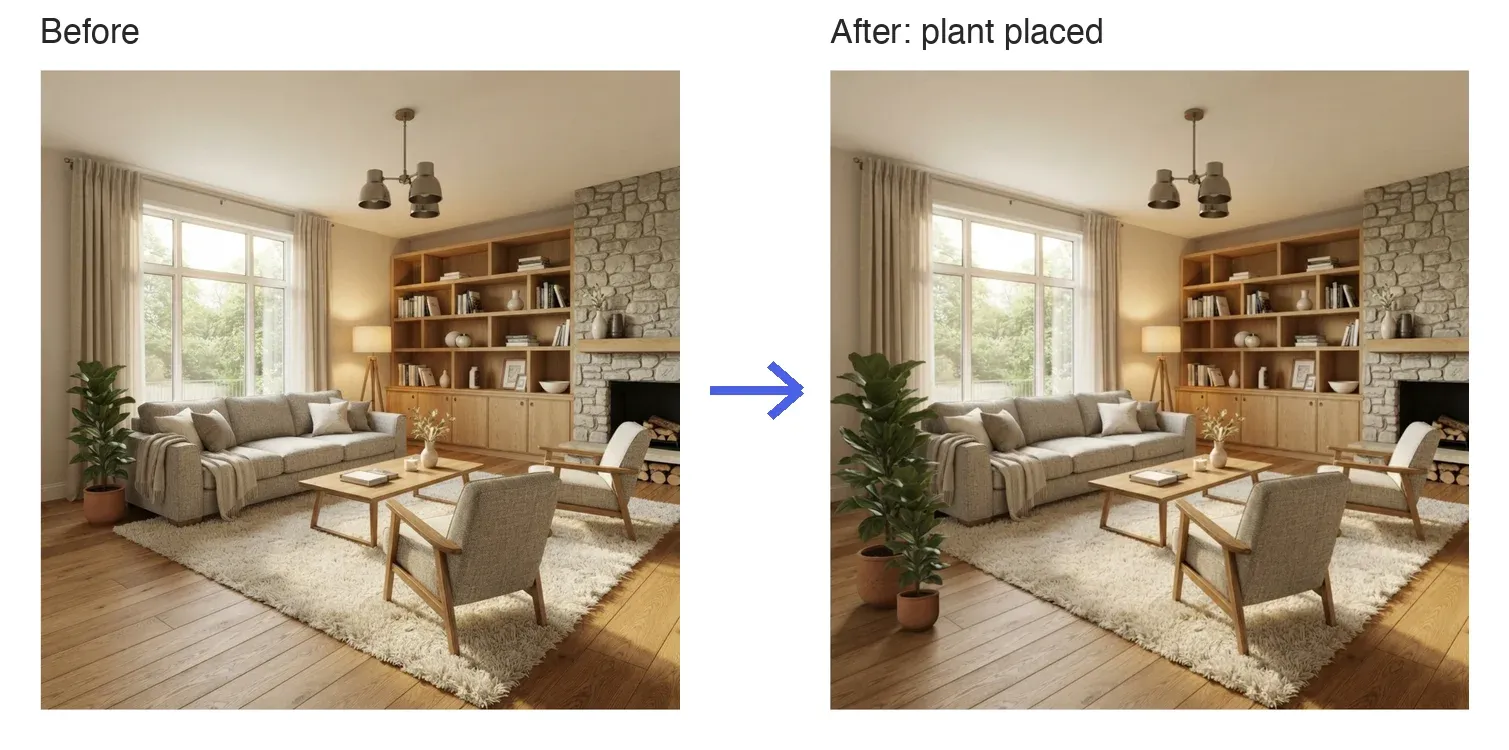
How to Use
- Choose the image: In a project, open the Edit tab with the image you want to edit.
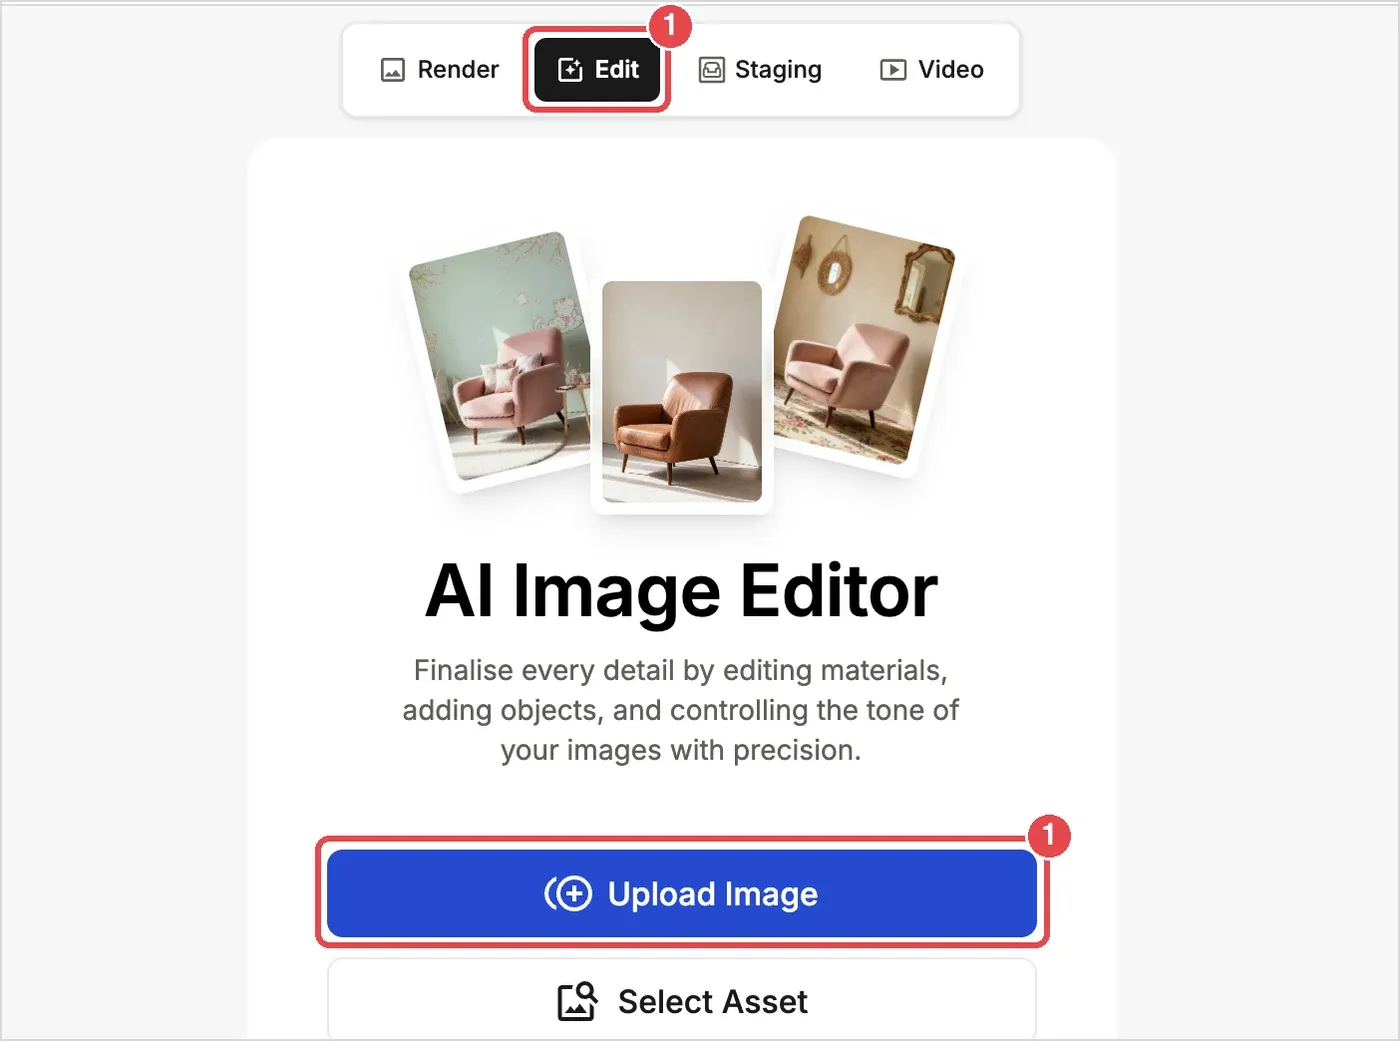
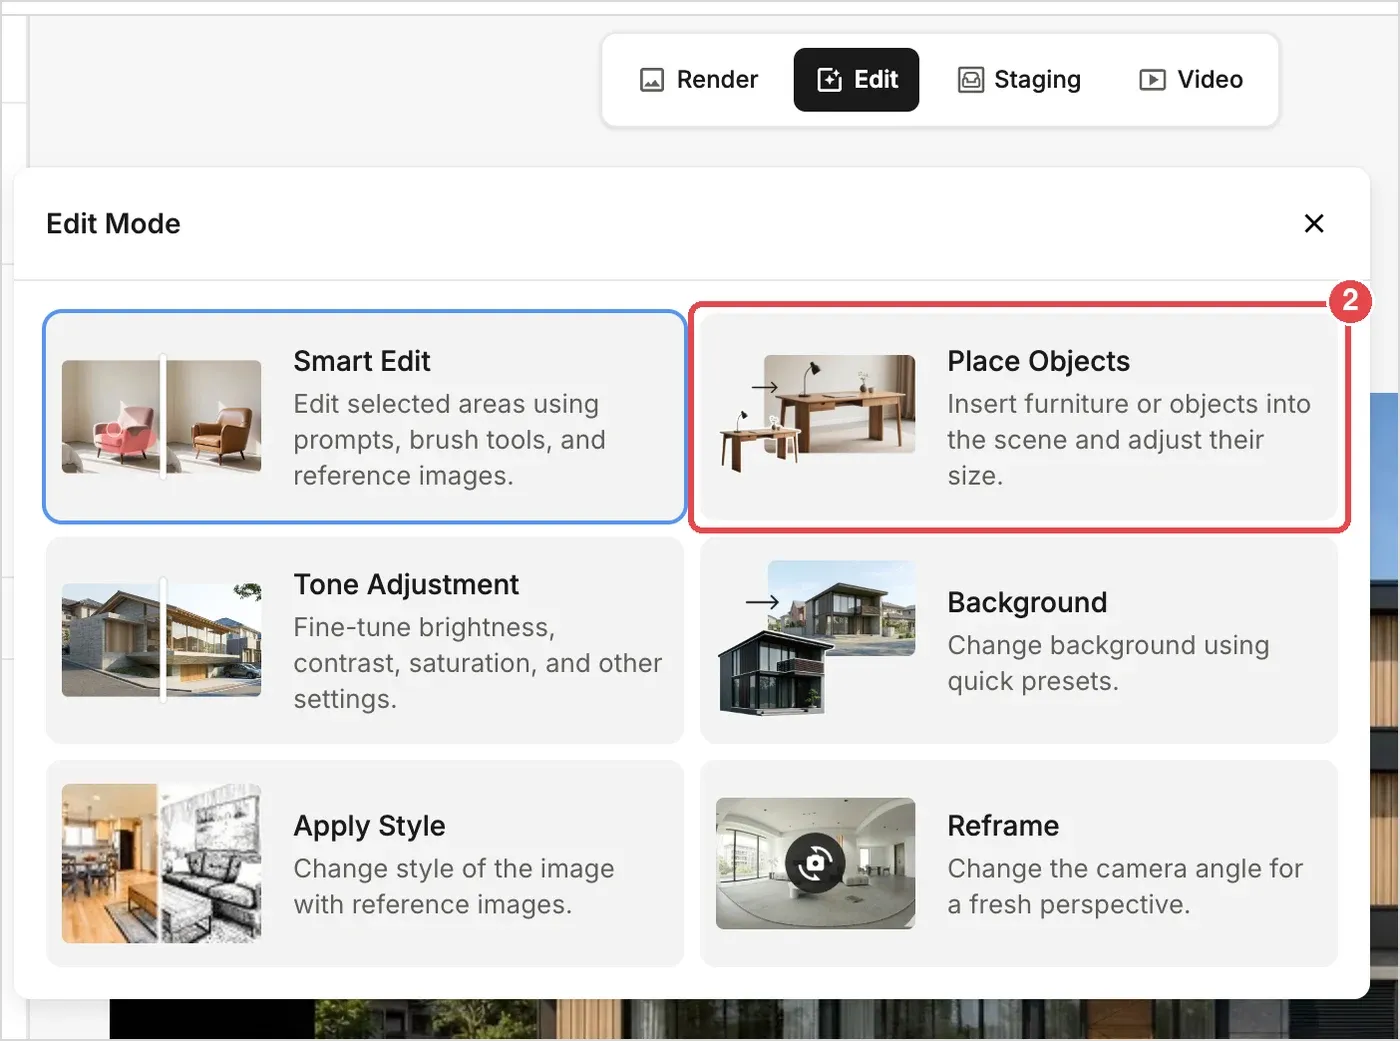
- Select Place Objects: Choose Place Objects under Edit Mode.
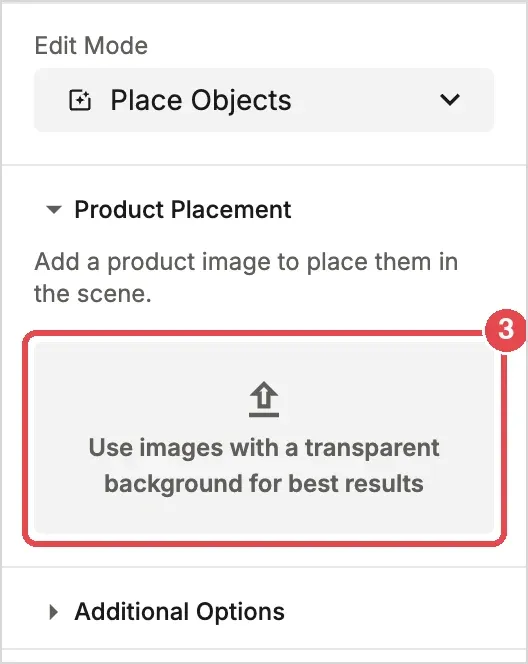
- Add a product image: Click the area under Product Placement. In the Input Reference Image window, upload an image from your computer or choose one already in your project.
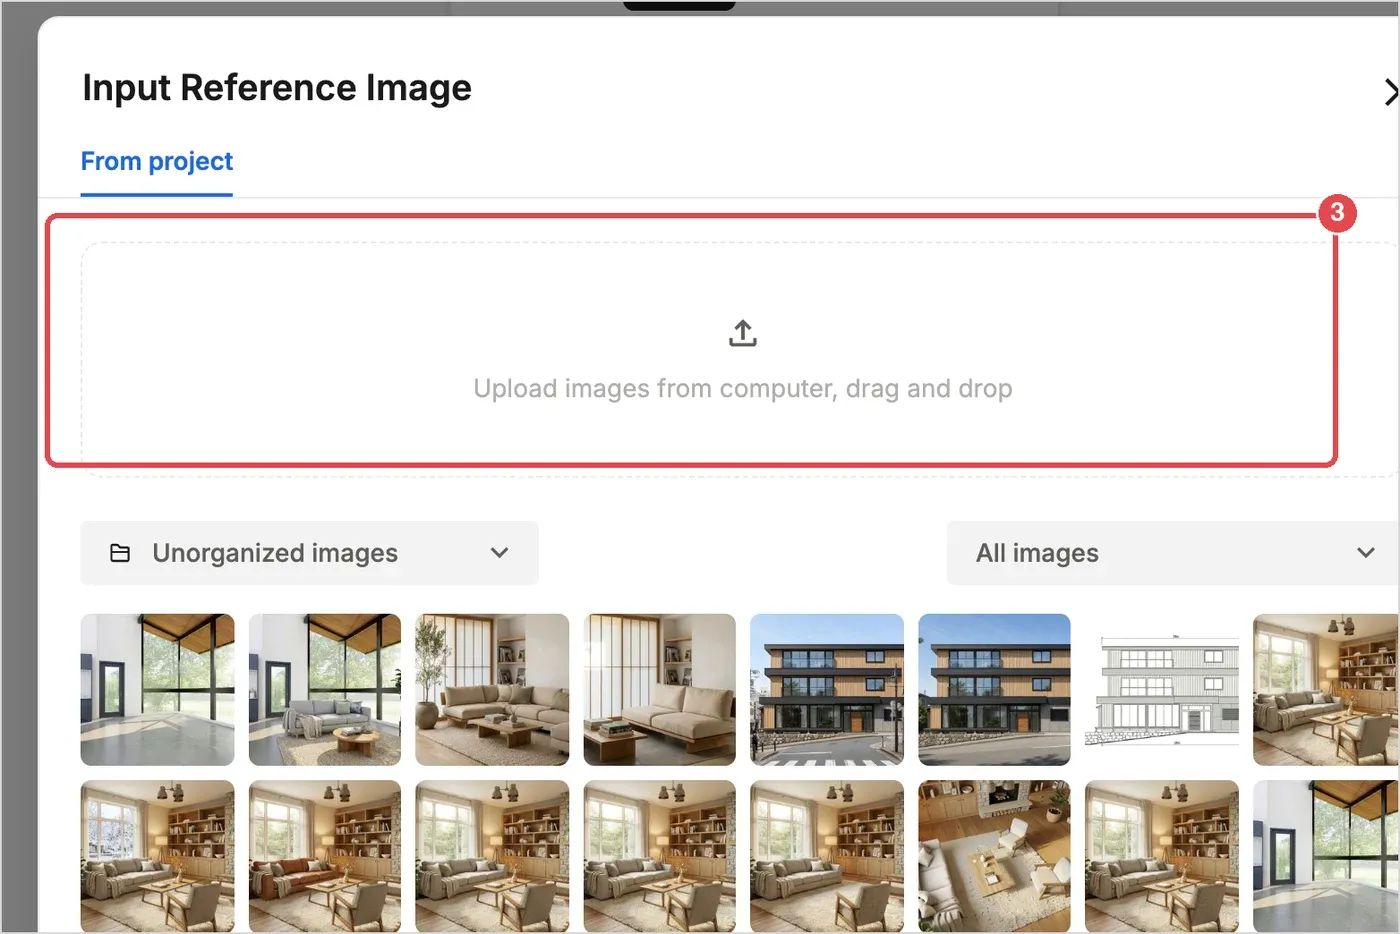
- Set the position and size: Drag the product to where you want it, and drag the handles to resize it.
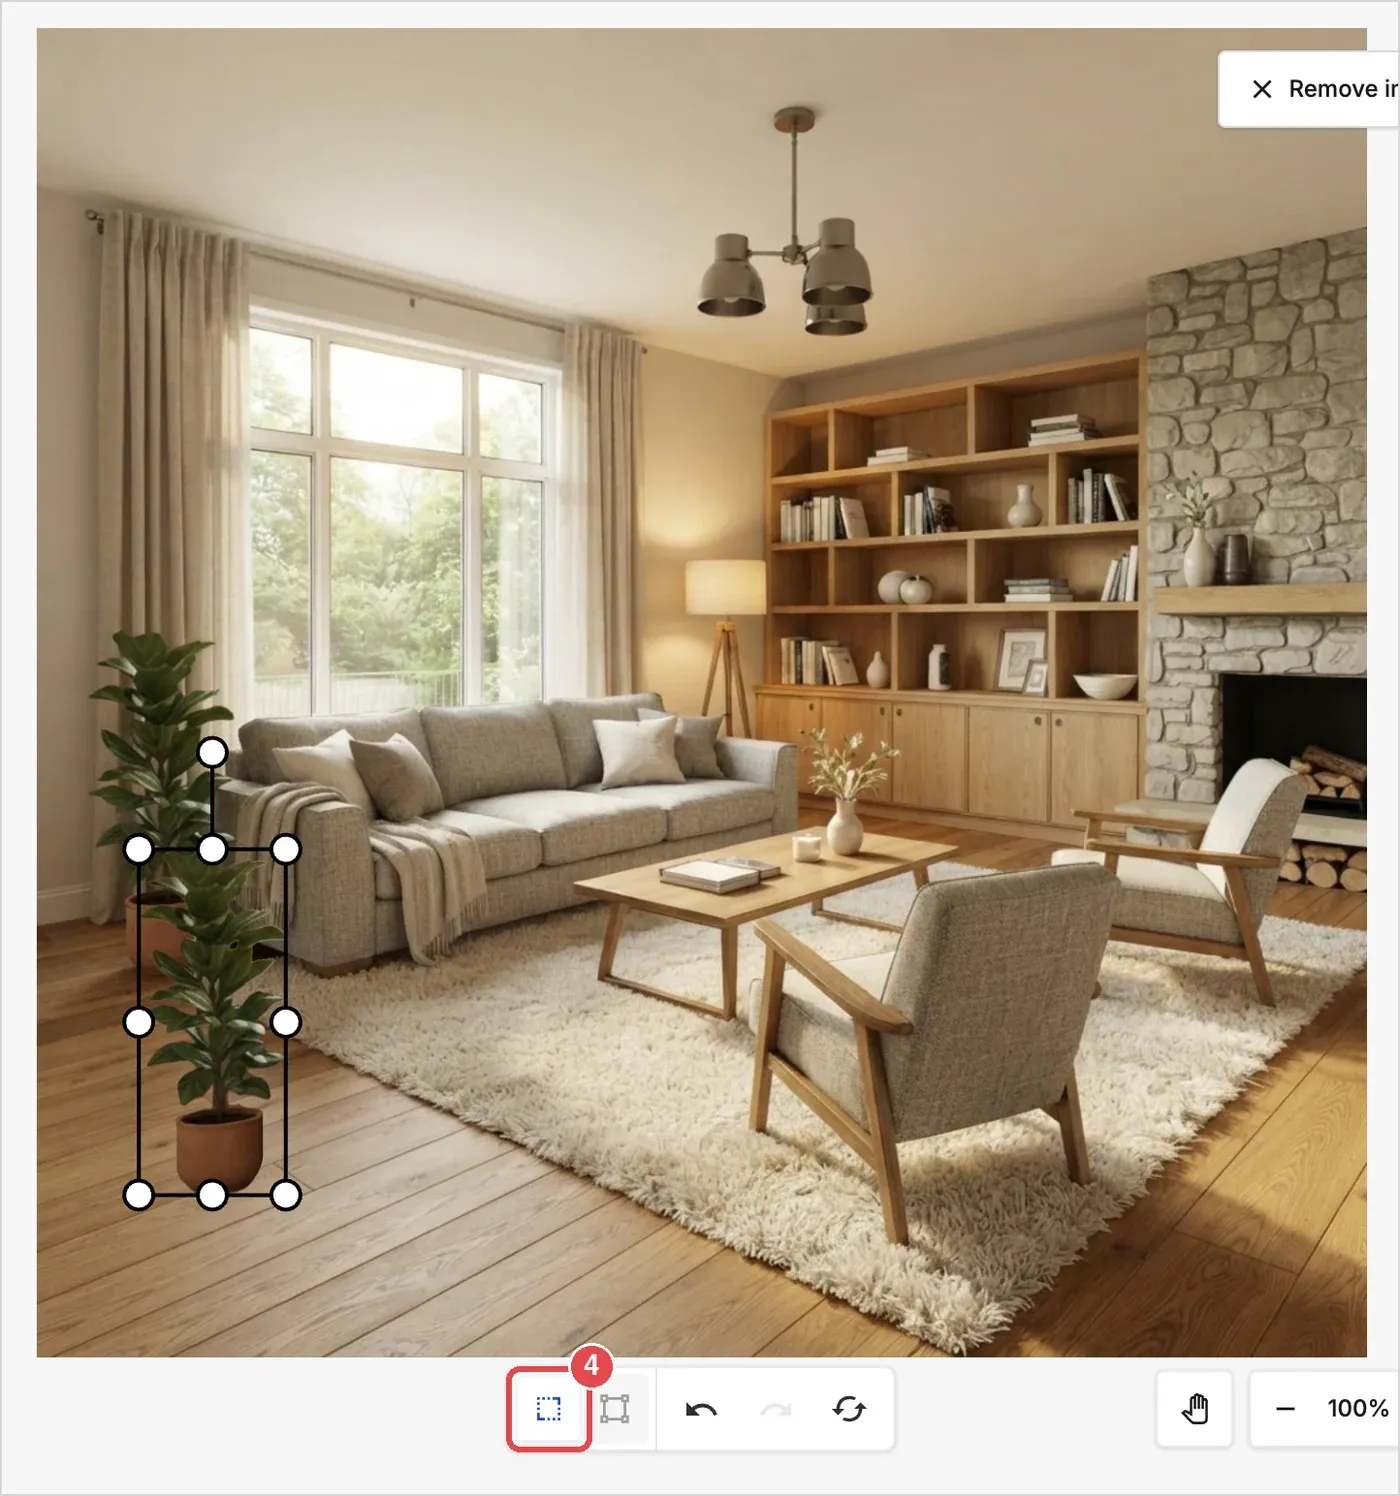
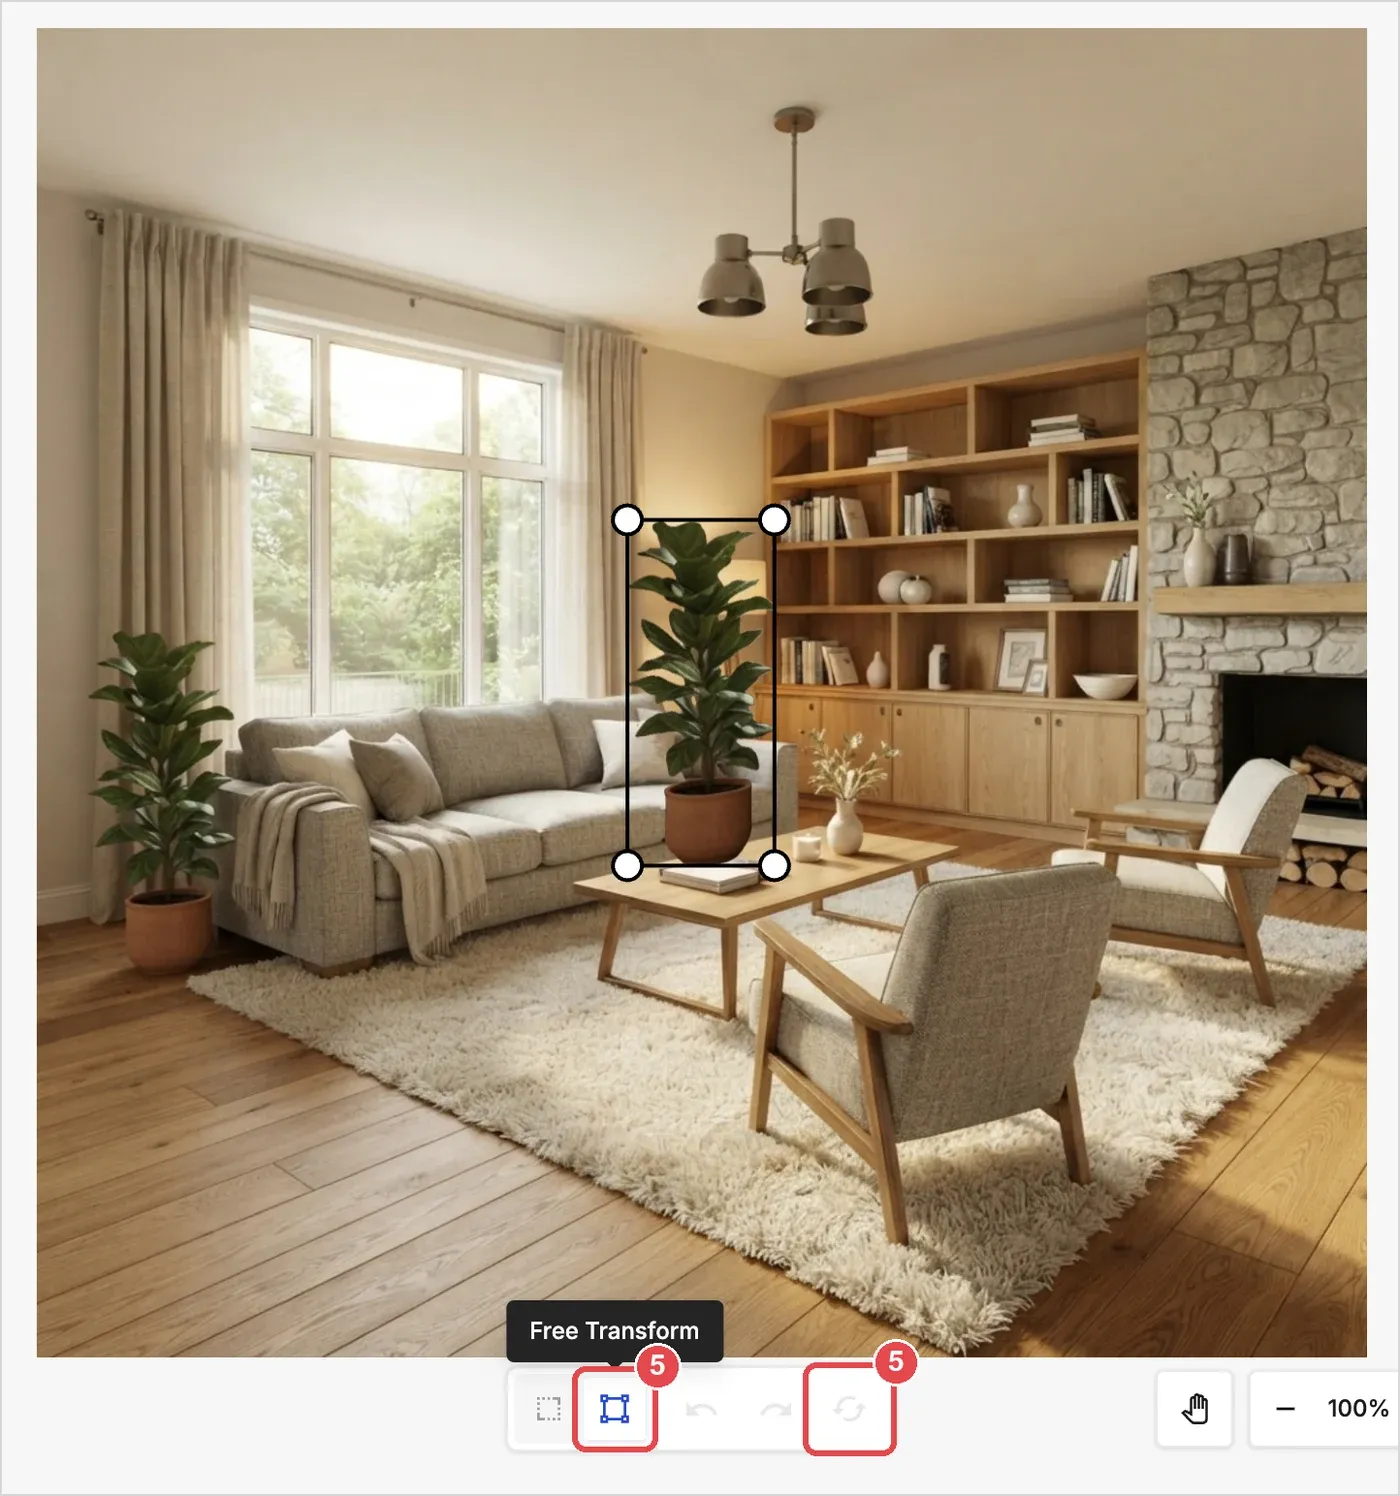
- Adjust with Free Transform: Click Free Transform in the toolbar under the image to adjust the corners separately, for example to match the perspective of a rug or wallpaper. Reset undoes the changes.
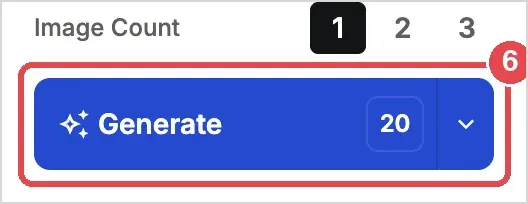
- Generate: Click Generate (20 credits) to blend the product into the scene.
⛔ Caution: We recommend product images with a transparent background (transparent PNG). You can still generate if the background is left in, but using a transparent image makes it easier to picture the result after generation.
💡 Tip: Save products you use often as transparent PNGs in your project, so you can pick them in the Input Reference Image window instead of uploading them again.