
The Basic Workflow: Projects, Tabs and Flows
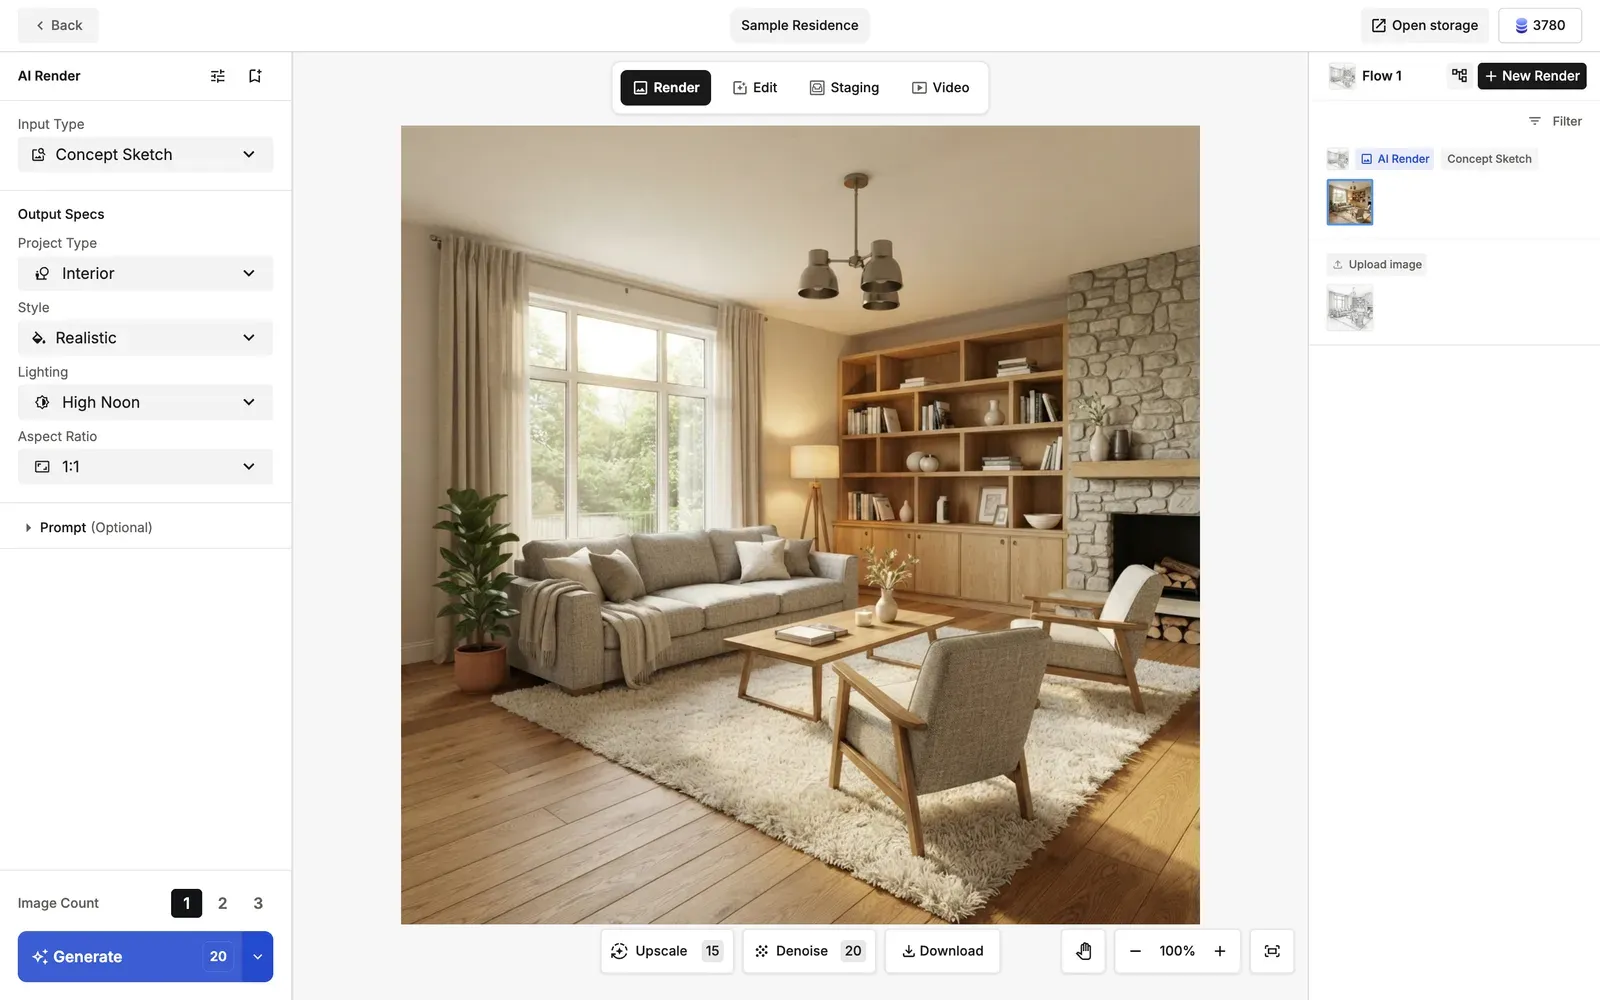
In ArchiX, everything you create lives inside a project. A project has four tabs at the top, Render, Edit, Staging and Video, so you can render an image, edit it, stage it and turn it into a video on one page.
How to Use
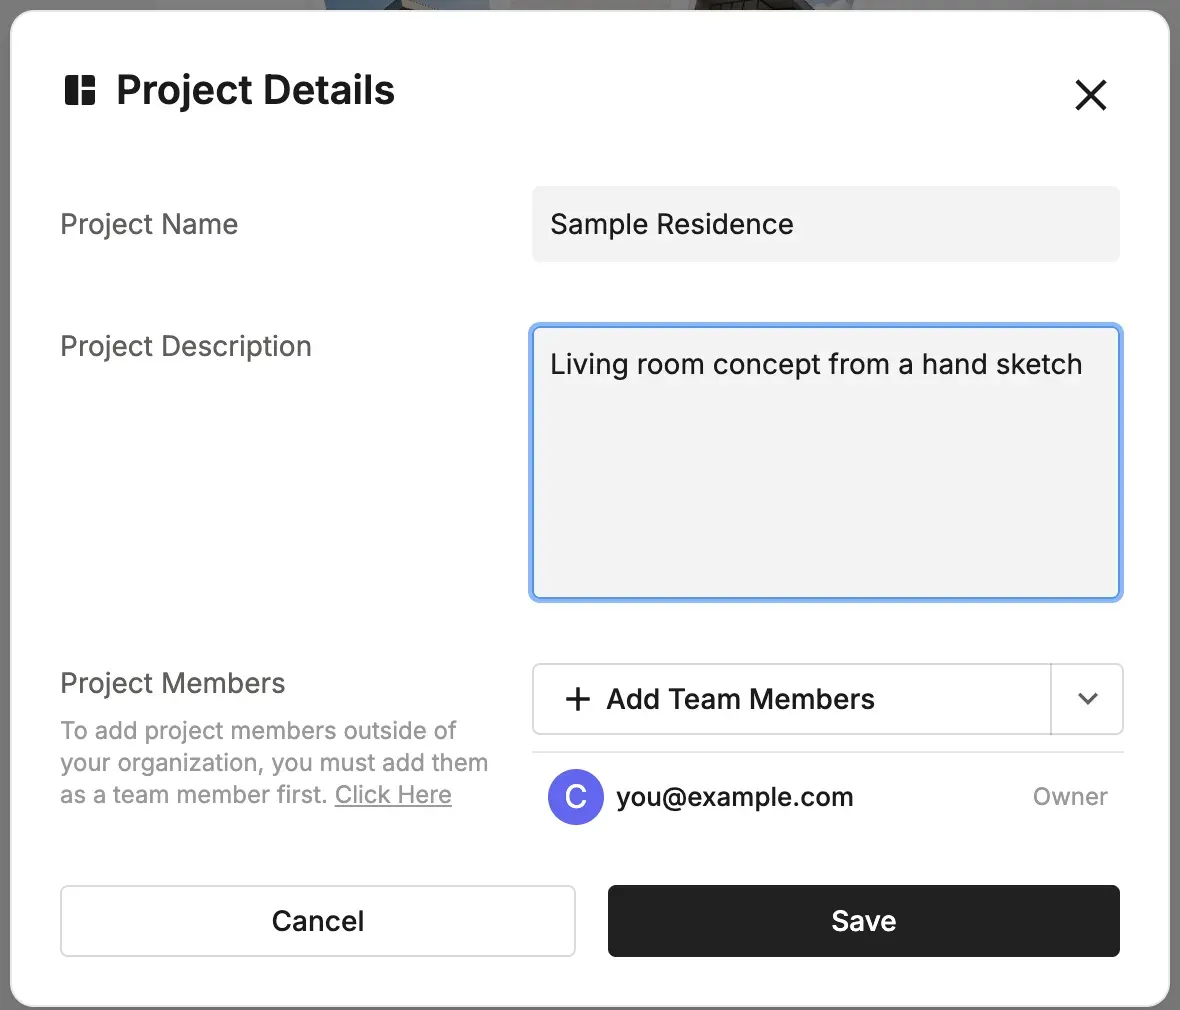
- Create a project: On Home, click Create Project. Click the project name at the top to open Project Details, where you can rename it, add a description and invite team members.
- Choose a tab: Pick Render, Edit, Staging or Video. The settings panel on the left changes to match the tool.
- Upload an image: Use Upload Image or Select Asset in the center of the screen.
- Choose your settings: Set the options in the left panel, such as Input Type, Project Type, Style and Lighting. Add a prompt if you like.
- Generate: Click Generate. The number on the button is the credit cost.
- Keep going: Switch tabs to continue from the result, for example from Render to Edit to Video. Results are saved automatically.
Flows: Your Results, Grouped by Starting Image
The panel on the right shows your work as flows. Each flow starts from one uploaded image and lists every step that came from it, such as Upload image → AI Render → Edit. Click New Render (or New Edit, New Staging, New Video) to start a new flow from a different image.
- Node view: Click the node view icon next to the flow name to see the flow as a tree. You can start the next step, such as Edit or Video, from any image in the tree.
- Filter: Narrow the panel by favorites, date (Today, Last 7 days, Last 30 days), feature or input image type.
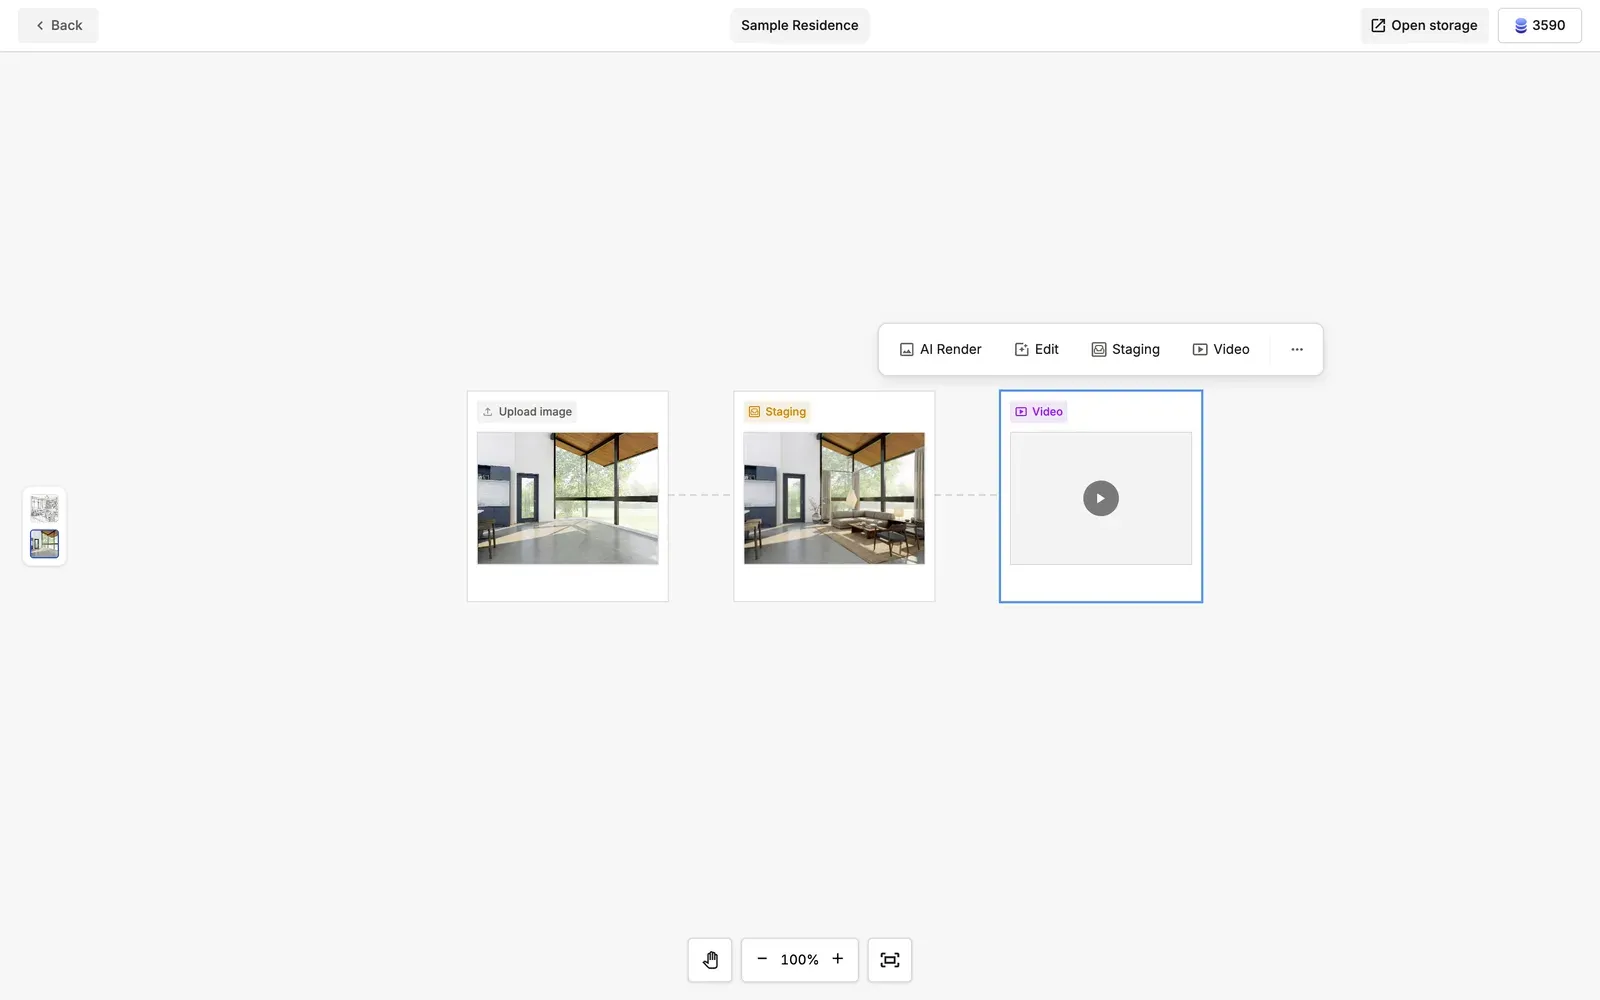
💡 Tip: Keep one idea per flow. When you want to try a different starting image, start a new flow instead of replacing the image, so you can compare the results later.