
Try It: Create an Interior Rendering from a Photo
The quickest tutorial for turning a single room photo into a photorealistic interior rendering.
In this tutorial, you'll create a photorealistic interior rendering from one room photo you have on hand. You'll go through the whole AI Render workflow hands-on.
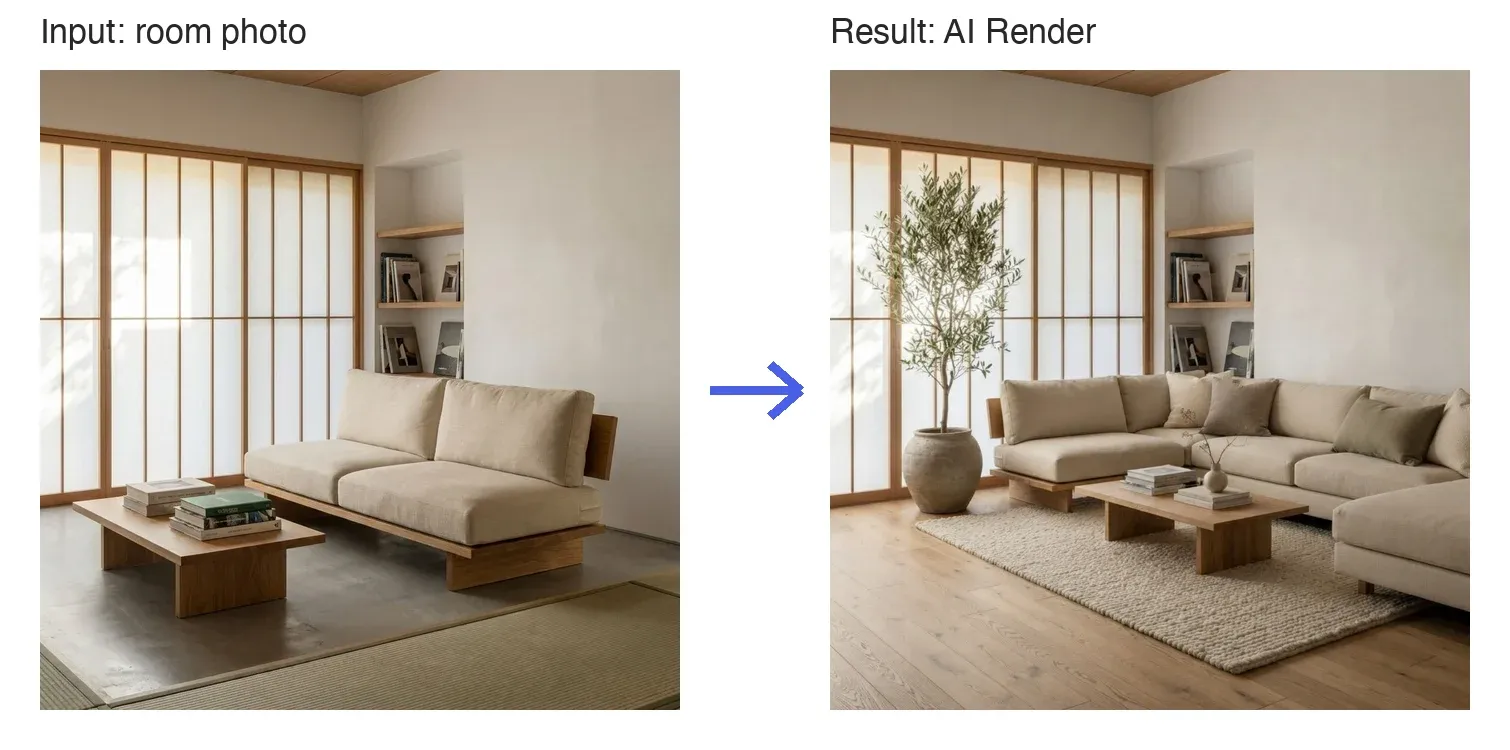
How to Use
- Open AI Render: On Home, click the AI Render tile. A new project opens on the Render tab.

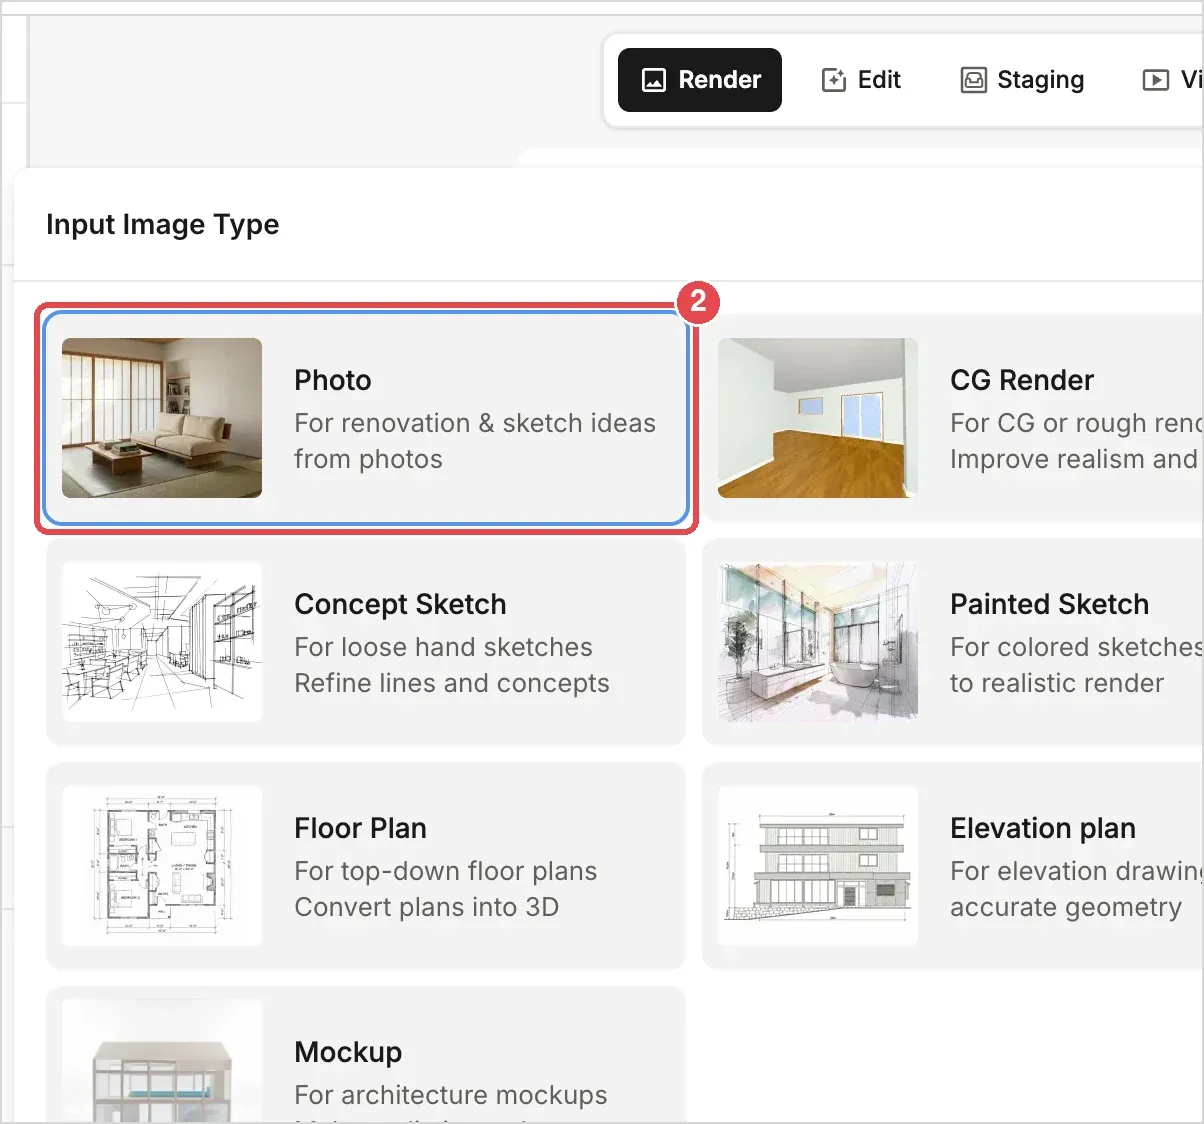
- Upload a photo: Load your room photo with Upload Image in the center of the screen, and select Photo as the Input Image Type.
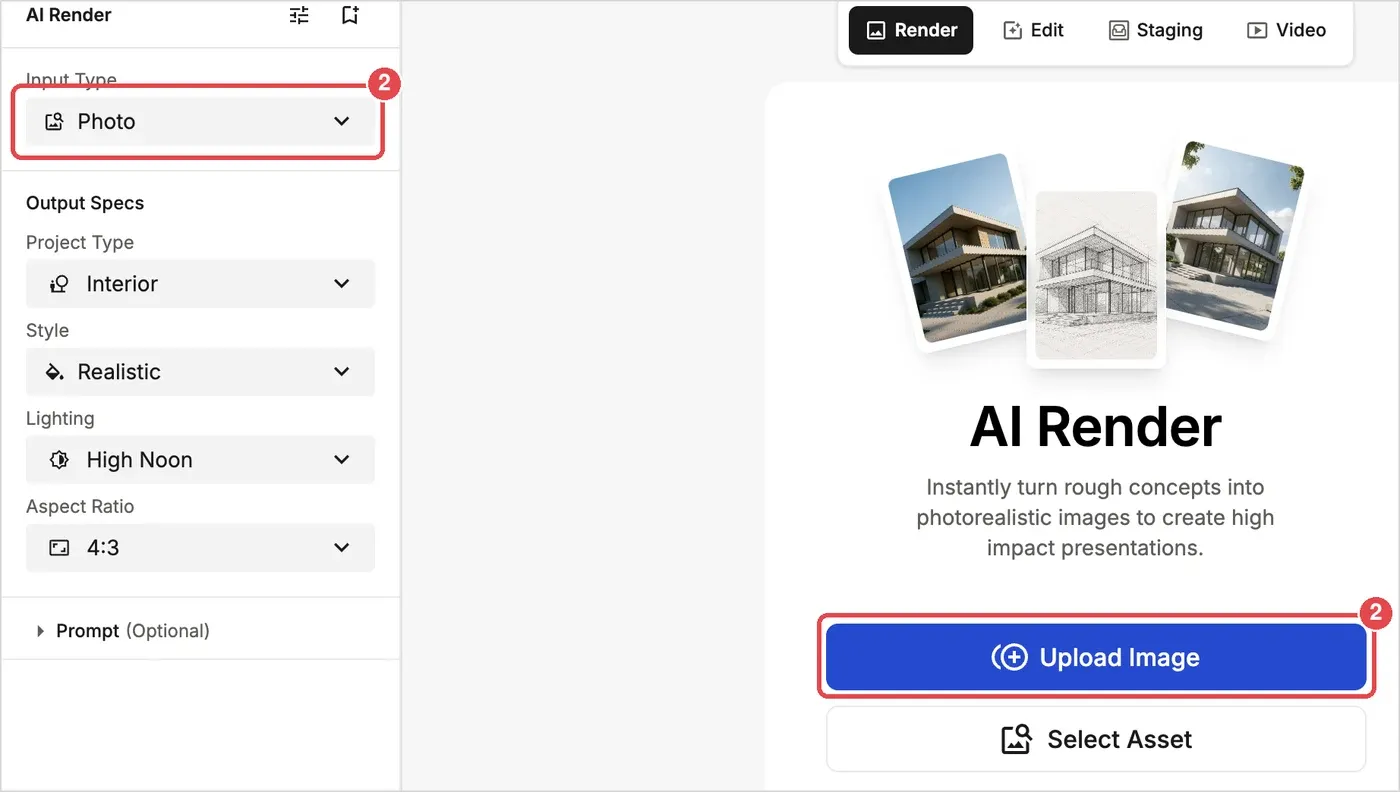
- Choose the Project Type: Select Interior.
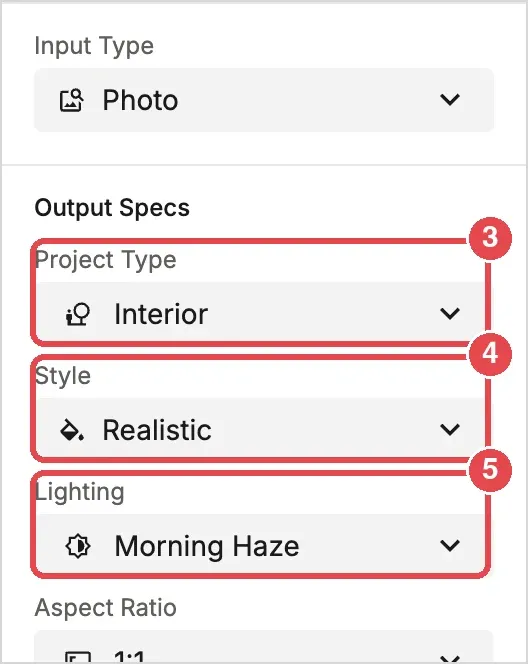
- Choose a Style: We recommend starting with Realistic. You can also choose Watercolor, Sketch or Marker.
- Choose the Lighting: Pick a mood from High Noon, Morning Haze or Interior Glow.
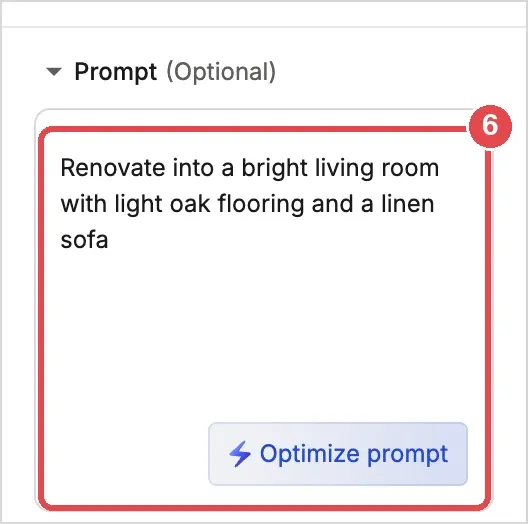
- Enter a prompt (optional): Describe how you'd like the result to look, then click Optimize prompt. Refining the wording this way improves accuracy.
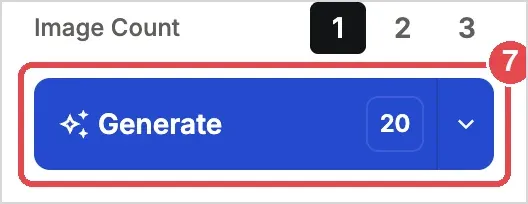
- Generate: Click the Generate button. For higher image quality, use the arrow next to Generate to switch to HD.
Generated images are saved automatically, and you can download them as PNG, JPG or WebP whenever you need.
💡 Tip: Start with Realistic + High Noon + 1 image to check the direction. If you like it, then add to the prompt or the number of images. This helps you avoid wasting credits.
💡 Note: Supported upload formats are PNG, JPG, JPEG, WebP, HEIC and HEIF. PDF isn't supported, so convert it to an image first. Files up to 50 MB are accepted, and files over 10 MB are compressed automatically. Generation time varies depending on the content.