
The Basic Generation Workflow
AI Render generates a realistic architectural rendering from a single image you upload. Here we walk through the basic steps to generate your first image.
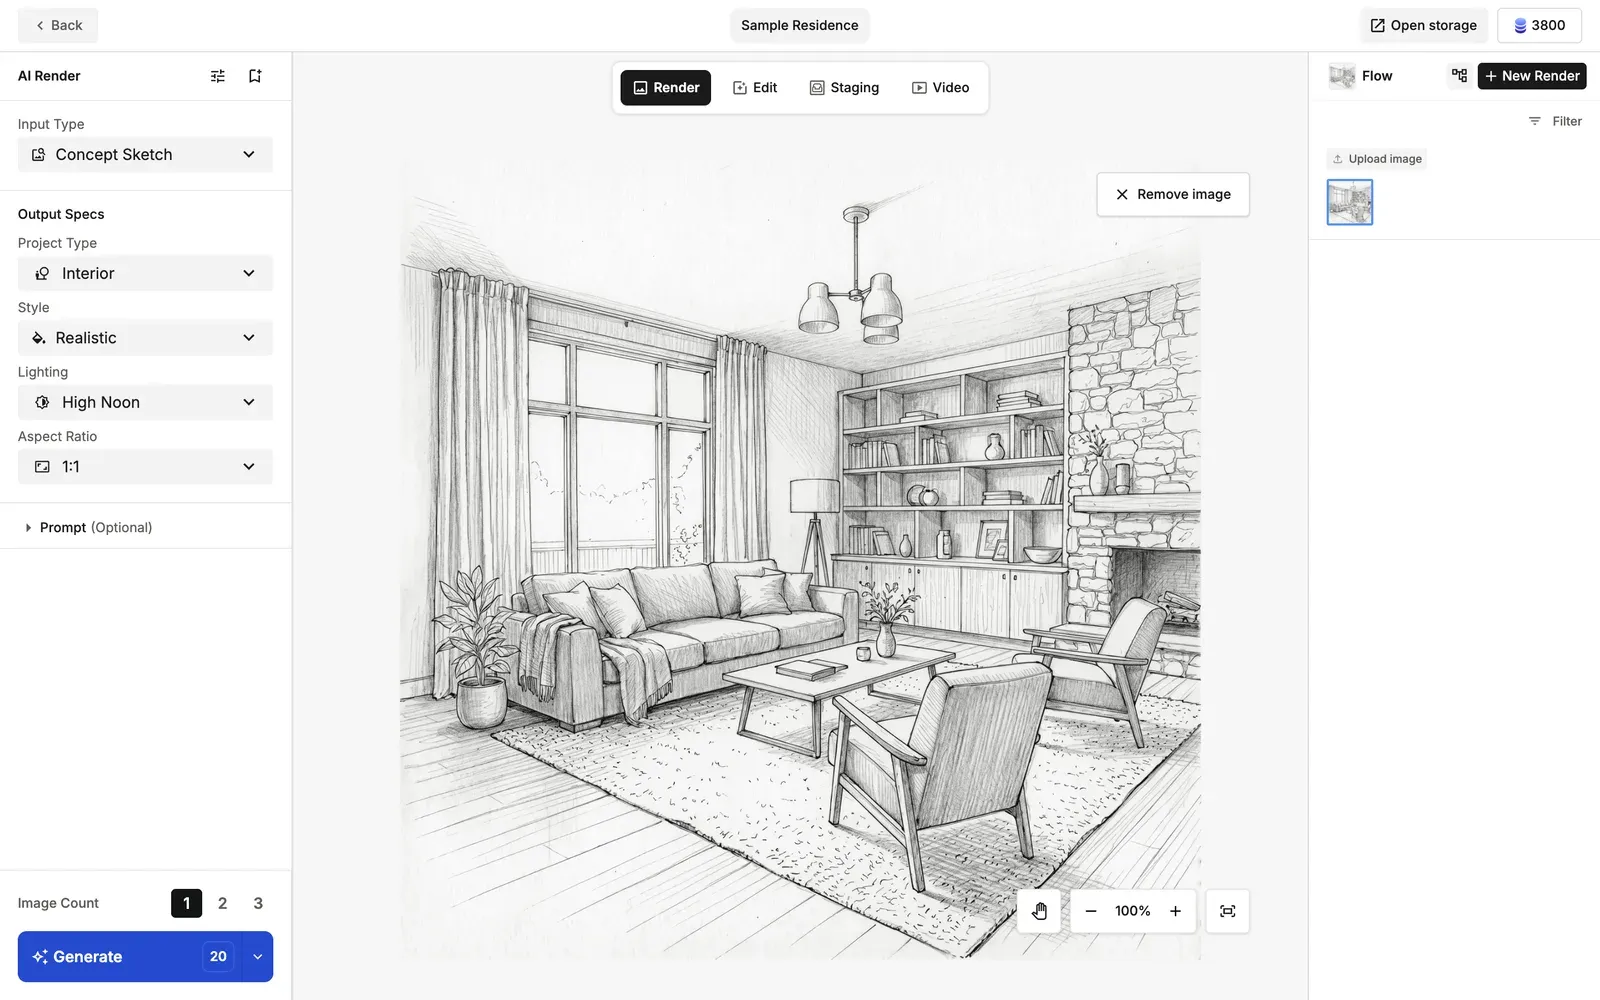
How to Use
- Open AI Render: On Home, click Create Project or the AI Render tile. The project opens on the Render tab.
- Upload an image: Load your source image (a sketch, photo, drawing and so on) with Upload Image or Select Asset.
- Choose the Input Type: Pick the type that matches your material so the AI understands it correctly: Photo, CG Render, Concept Sketch, Painted Sketch, Floor Plan, Elevation plan or Mockup.
- Set the Output Specs: Choose the Project Type (Interior or Exterior), Style, Lighting and Aspect Ratio. For Exterior projects you can also choose a background.
- Add a prompt (optional): Open Prompt (Optional) to describe anything specific you want.
- Generate: Choose the Image Count (1 to 3) and click Generate. Standard quality uses 20 credits per image and HD uses 30. Use the arrow next to the button to switch quality.
For the same steps with a screenshot of each one, see Try It: Create an Interior Rendering from a Photo.
The result appears in the center and in the Flow panel on the right. Under the image you can Upscale (15 credits), Denoise (20 credits) or Download it. Everything is also saved in All Generations.
💡 Tip: Choose your settings in this order: Input Type, then Output Specs. The options shown below change depending on the Input Type.